
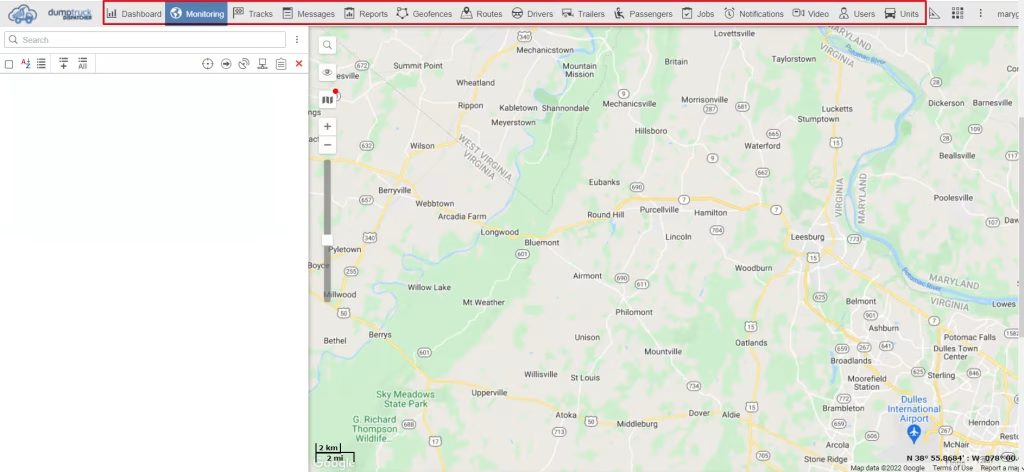
The first section that we will be discussing is the top bar. It consists of principal functions for customization in running your day-to-day tasks.
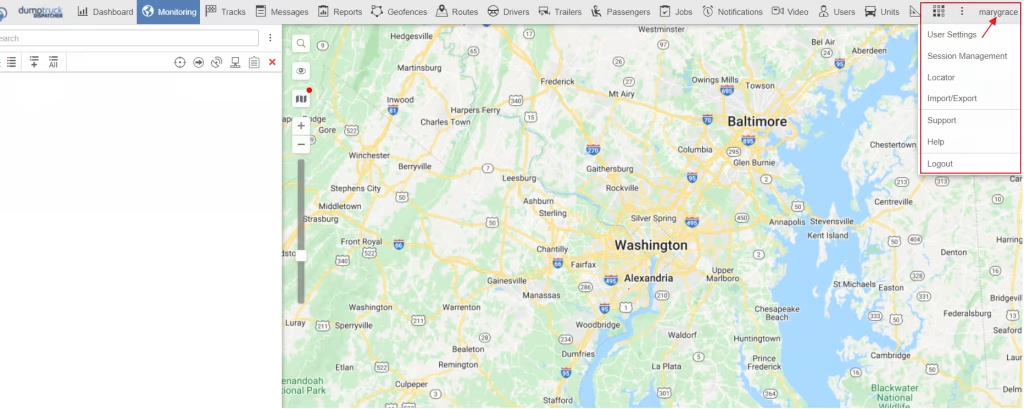
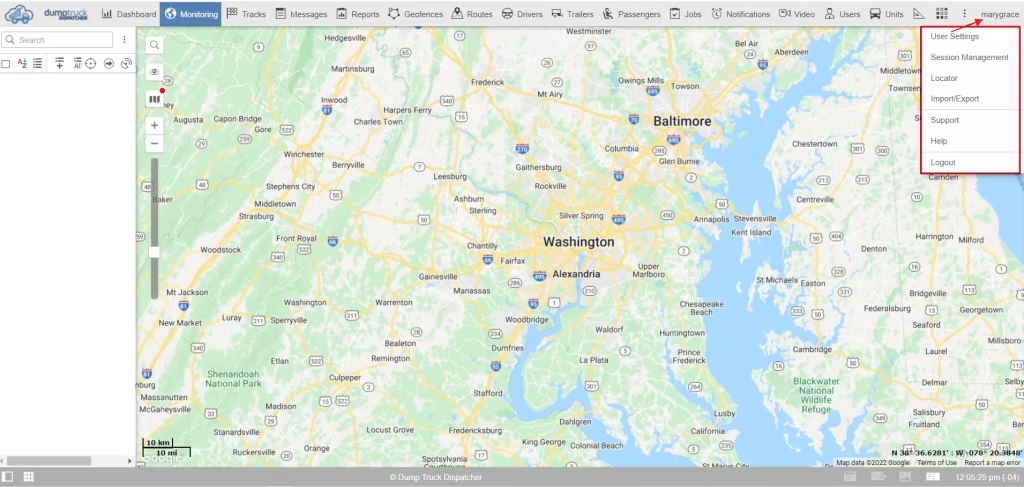
User menu – Located by clicking the username on the top right corner. It consists of User settings, Manages Applications, Support, Help, and Log out.
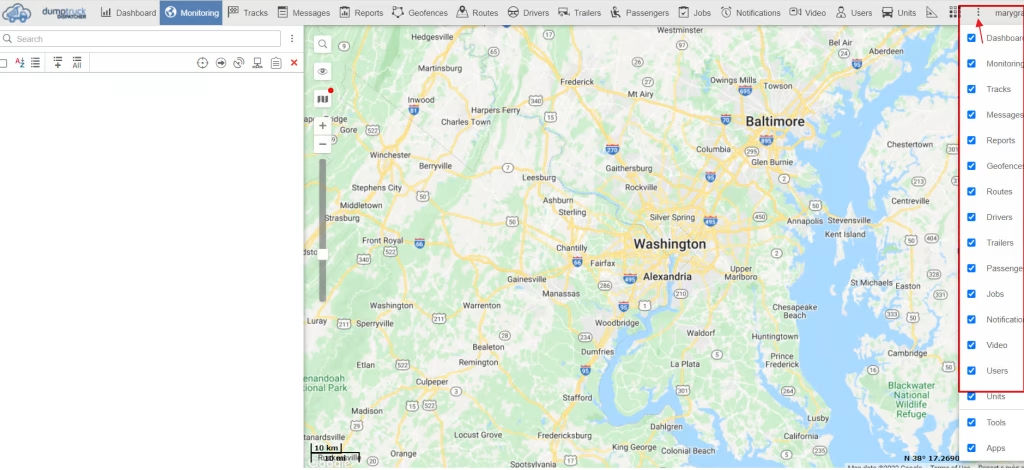
To the left of the user menu, you can see three vertical dots. These dots represent the menu icon. This menu is specifically for customizing your top panel. By checking and unchecking the boxes listed below, you can add and take away panels depending upon the necessity for your operations.
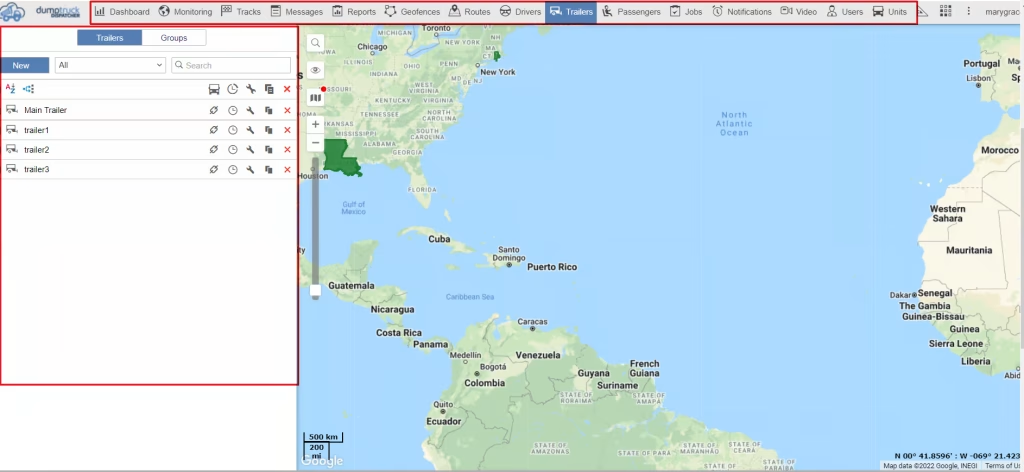
By clicking on any of the tabs in the top bar, It’ll change the panel on the left of the map.
This panel is called the work area and it represents the tab that we’ve selected. Some tabs allow you to create new items. If you have the available permission, you’ll see a new button at the top of the work area.
You can use the search bar to look for the name of an item. Located in the top right corner of the work area. The search bar only searches for the tabs you selected.
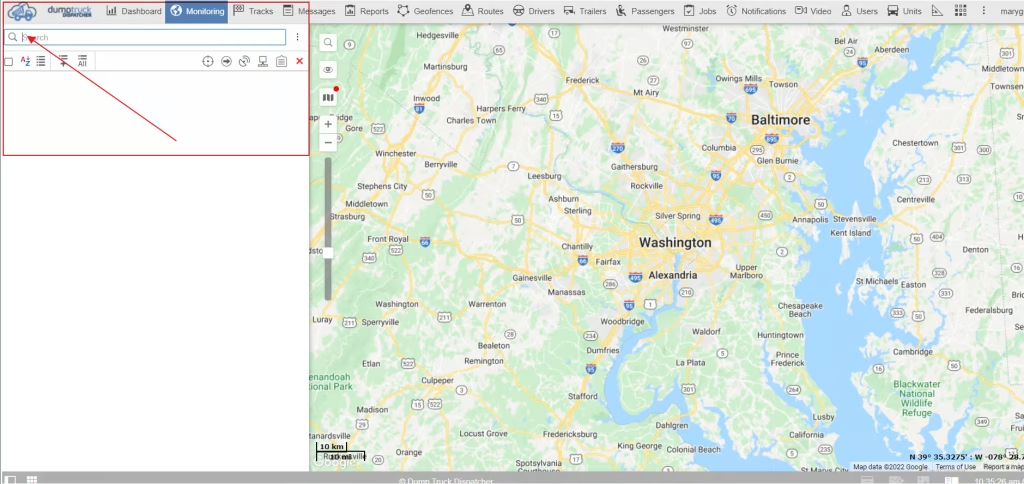
The work area can also be adjusted to expose more or less of the map at any given time. You can slide the window all the way to the left to make your whole window just the map.
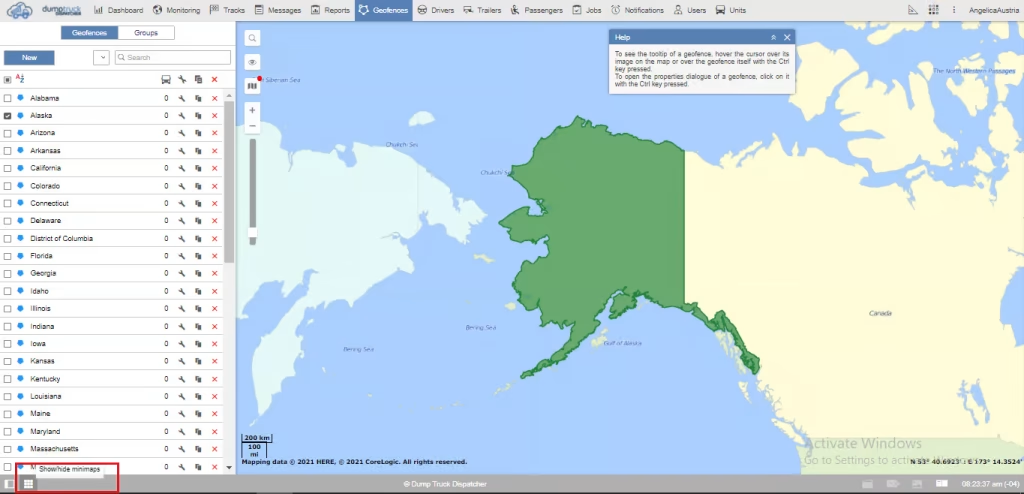
To the bottom right of the show work area icon is the “Show/Hide Mini maps” Icon. Just click on it when you need to hide or pull them back up.
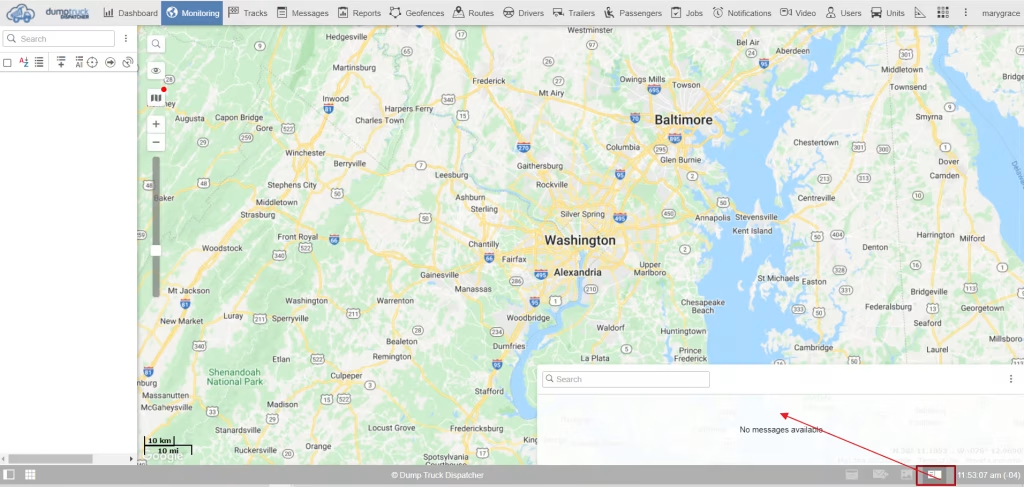
To the right of the what’s new icon, you’ll see a section containing 3 different buttons, all of which pull up their own window.
The first of these 3 is the online notifications. Allowing you to see all notifications from that session.
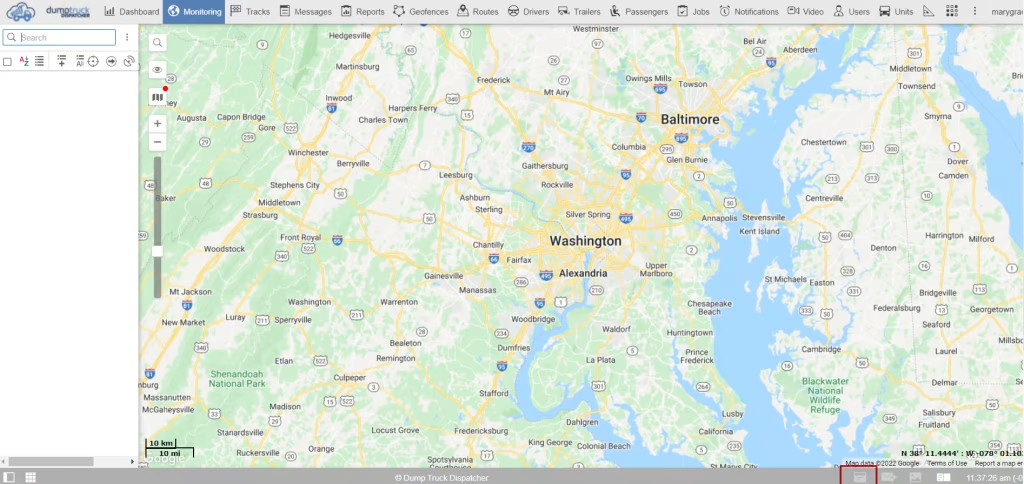
Next is the “Chat with drivers” icon. Which allows you to chat/ send messages to your drivers.
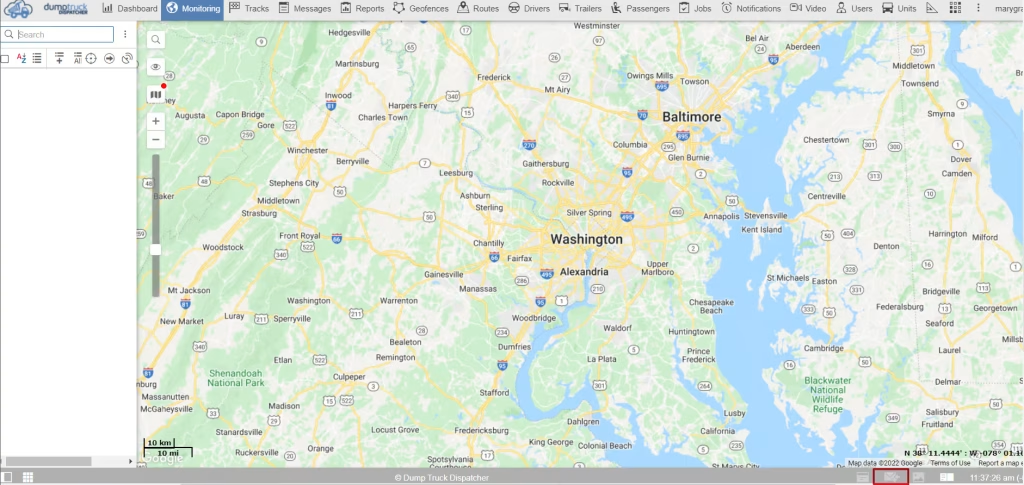
To the right of the section is the show logs icon. It will allow you to see the logs or recordings of what’s happening on the server from the perspective of your account.
Now let’s go to the user settings, which are a foundation of user access.
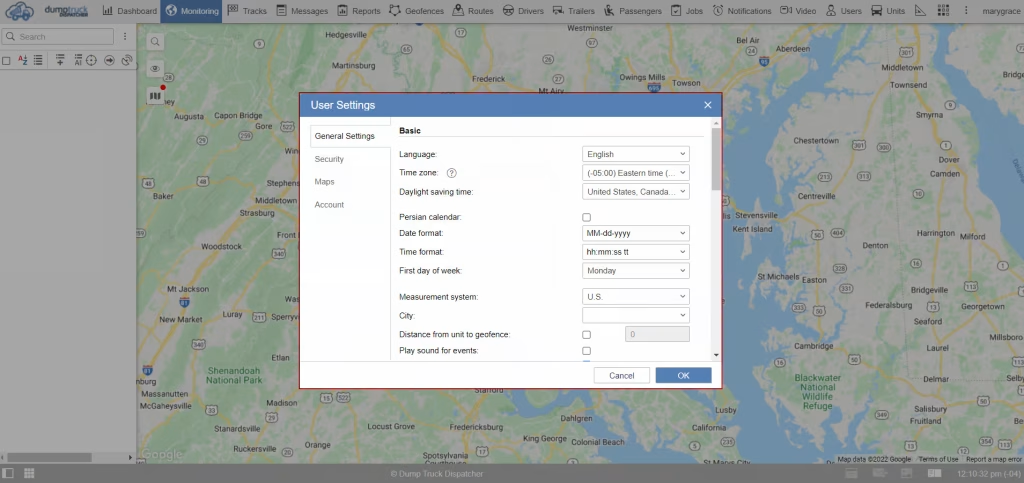
In the general settings of the user settings, you can select your primary language, time zone, daylight saving time, date format, time format, the first day of the week, Measurement system, and City.
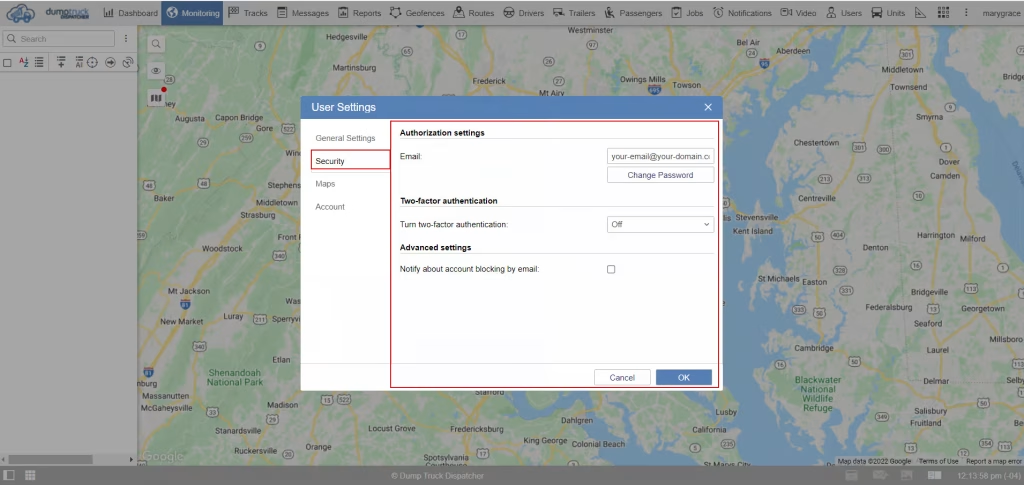
Now, let’s go to the security section of the user settings. Make sure you have filled up a valid email in the email section. This would be your recovery email in case you forgot your password.
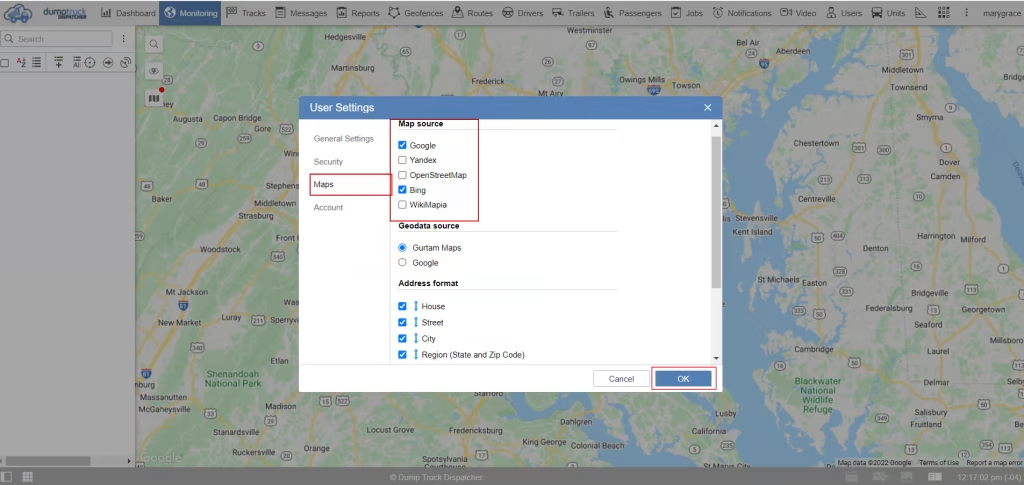
Next, let’s go to the Map section of user settings. Here you can customize your address format and maps. In the address format section, you can drag down and up the variables depending on the format/ arrangement you want. You can also check or uncheck the boxes if you want to include/exclude them from your address format.
In the Map source, you can choose the map you want to use for your operations. Make sure you check the box on the map you choose, then select the “OK” button on the bottom right corner.
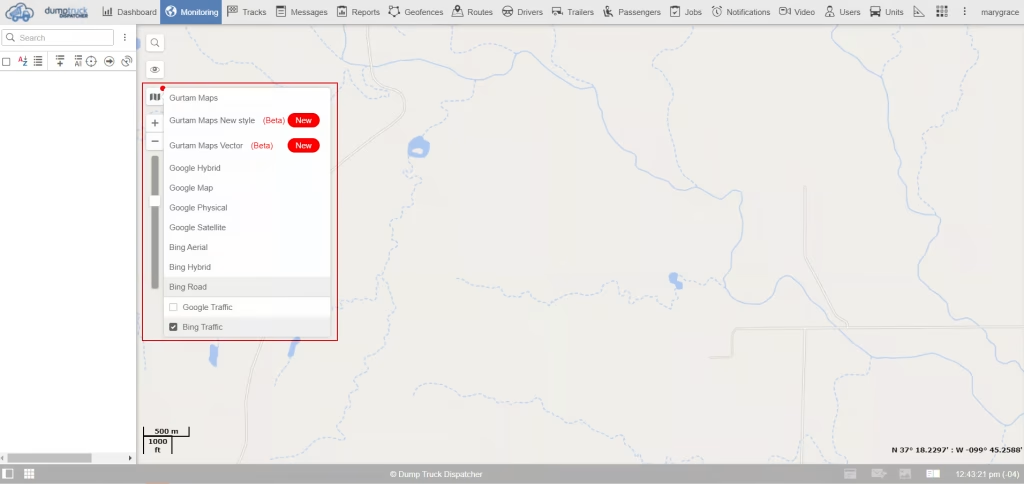
When you take a look on the top left side of the map you’ll see a few icons. We’ll go over the third icon first, which is the map icon. Here you can select your default map and overlays.
The first icon at the top is the search bar, represented by the magnifying glass. This is a map search where you can check addresses on your map.

Under the search bar is the eye icon. This icon will allow you to add or remove visible layers on your map. You can check or uncheck the boxes below.

Lastly, you can see the plus/minus and scale buttons. This allows you to zoom in and out of the map.