
If you have a need for creating material only orders such as would be the case for a quarry or pit, there is no need to schedule a truck. There also needs to be an easy way to create an order and a ticket without going through the typical scheduling, dispatching, and ticketing process in separate steps. The counter sales process allows this streamlined process.
Steps:
1. Enable ‘Counter Sales’ under Settings > Dispatching & Messaging
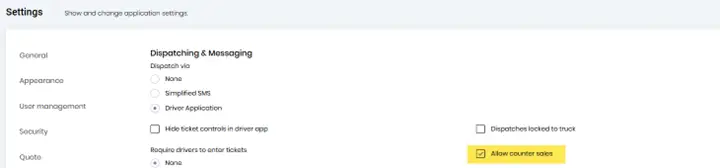
2. Allow Counter Sales Setting
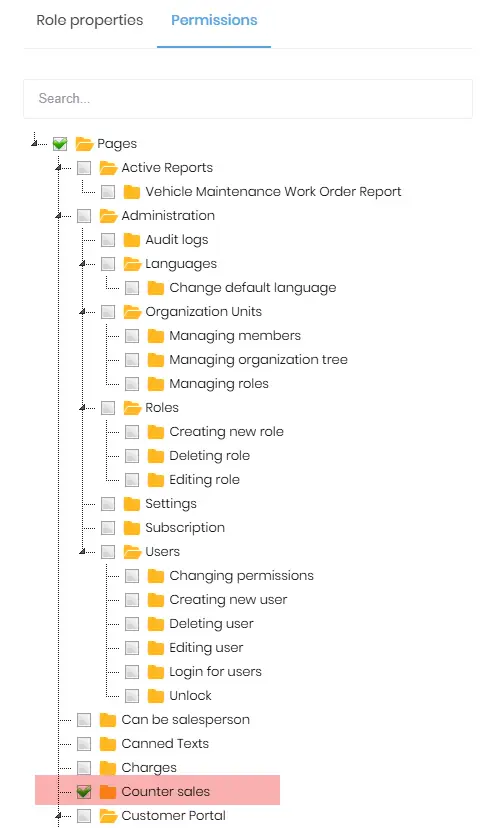
3. Go to Admin Settings > Roles
Check the “Counter Sales” checkbox to enable Counter Sales for the specified role.
Here’s a link to a video showing how to configure counter sales.
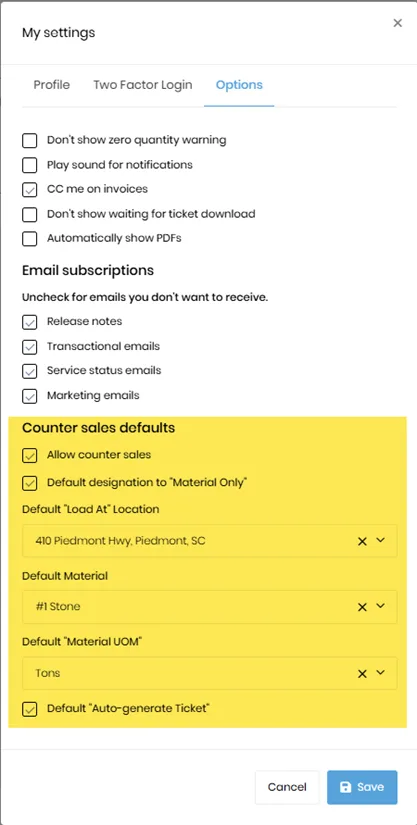
Under “My Settings” which is accessed by clicking on your profile image, set the default values you would like to use for counter sales. They are highlighted below.
Click on the “Add New” button, and then click on the “Job” option.
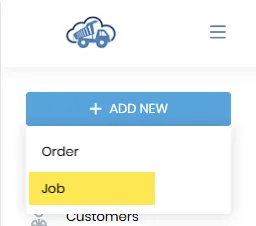
When this option is chosen, the “Add/Edit Job” dialog will display a more limited set of controls on the dialog and will default the information you specified in your user settings.
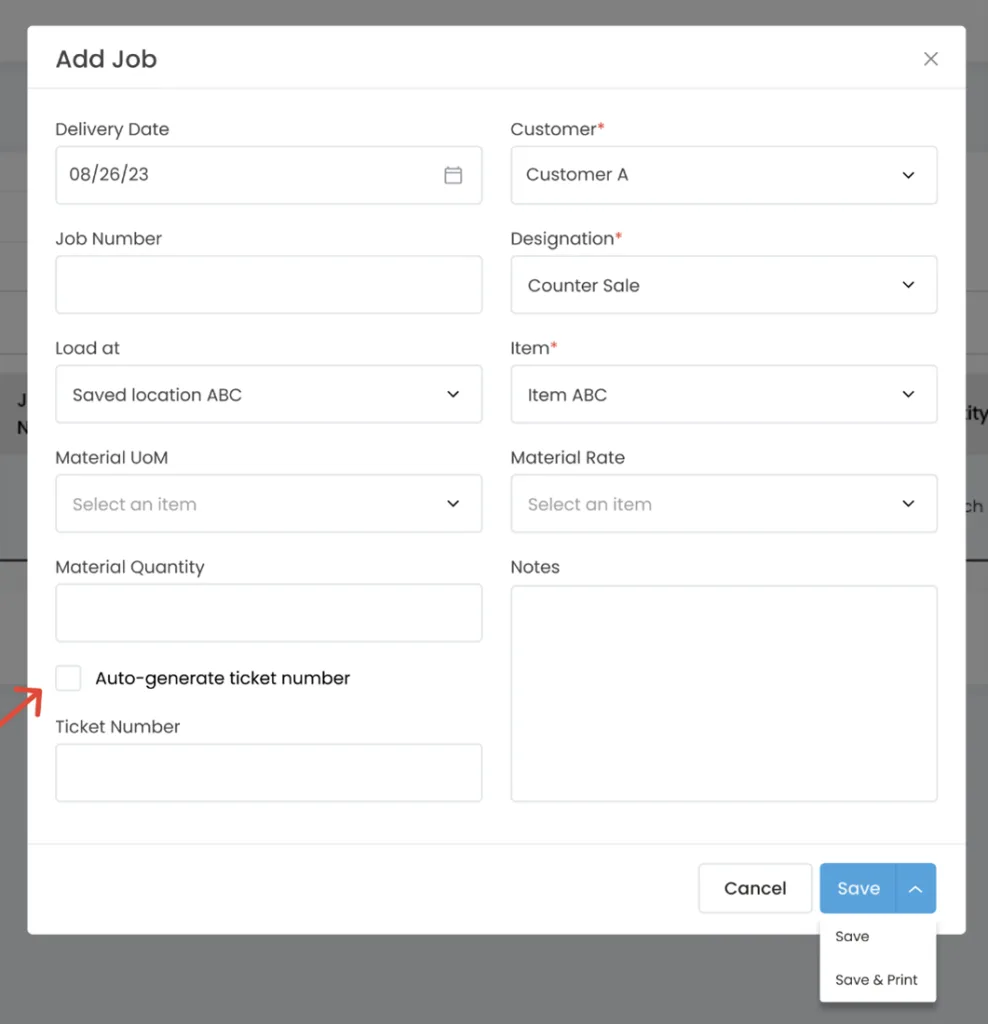
There is an “Auto generate ticket number” control at the bottom. If this is set to false, the “Ticket Number” control is displayed so you can add a ticket number. If you want the system to generate a unique ticket number, check the “Auto generate ticket number” control.
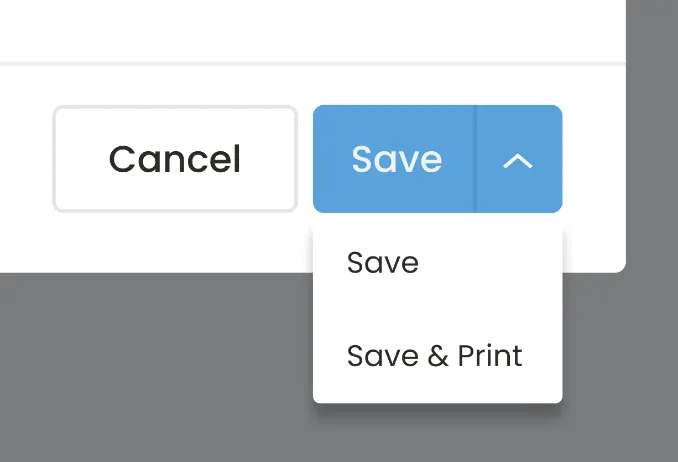
Click either “Save” or “Save and Print.”
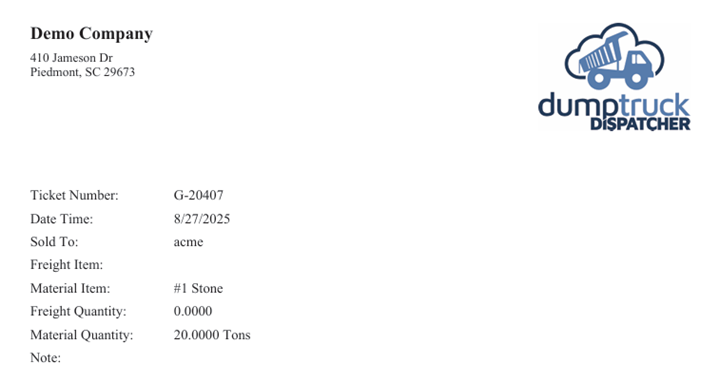
Here’s an example of the ticket that was printed.

Once you have saved the ticket, you can find it again under the “Ticket List” screen.
When a counter ticket is created, the job is automatically marked as complete.